There are so many wonderful, over-the-top, perfect Olaf the Snowman cakes on Pinterest. This one isn’t going to be one of them. It is, however, achievable even for a novice baker. This cake won’t require you to complete a Wilton cake decorating course or buy lots of specialised cake-decorating stuff or bring on a nervous breakdown yet it will still please your little Princess Elsa. A win for everyone!
So this is what I did, step-by-step:
The Cake
I used the pound cake recipe I always use, following this recipe from Saveur magazine, as the basis of the cake. A pound cake is not only delicious but is the perfect base for a novelty decorated birthday cake.
An un-iced pound cake will keep moist and fresh in an air tight container for up to a week; yes, a whole week! This is invaluable as it means you can make the cake several days ahead of the party and decorate it on the day. This frees up time before a party for the important, but very tedious, task of cleaning the house.
The cake has a fine crumb and so if you are cutting the cake out into a novelty shape it won’t fall apart.
The recipe lists one teaspoon each of vanilla, almond and lemon extract among the ingredients. In all the years I have been making this cake I haven’t been able to find almond and lemon extract. I simply use three teaspoons of vanilla.
I baked the cake in a rectangular baking pan measuring approximately 23cm x 33cm (9×13 inches).
Buttercream
The recipe below is from The Australian Women’s Weekly Kids’ Party Cakes book.
250g butter
480g (3 cups) icing sugar
1-2 tablespoons milk
Cream the butter until it is soft and fluffy. Add the sugar in batches. Add just enough milk to achieve the desired consistency, which is soft but not sloppy.
Decorations
dessicated coconut
liquorice (I used Fyna Licorice cut into thin strips)
black cake sprinkles
carrot
four chennille sticks (from Spotlight)
To Assemble
I downloaded this image of Olaf to use as a guide.
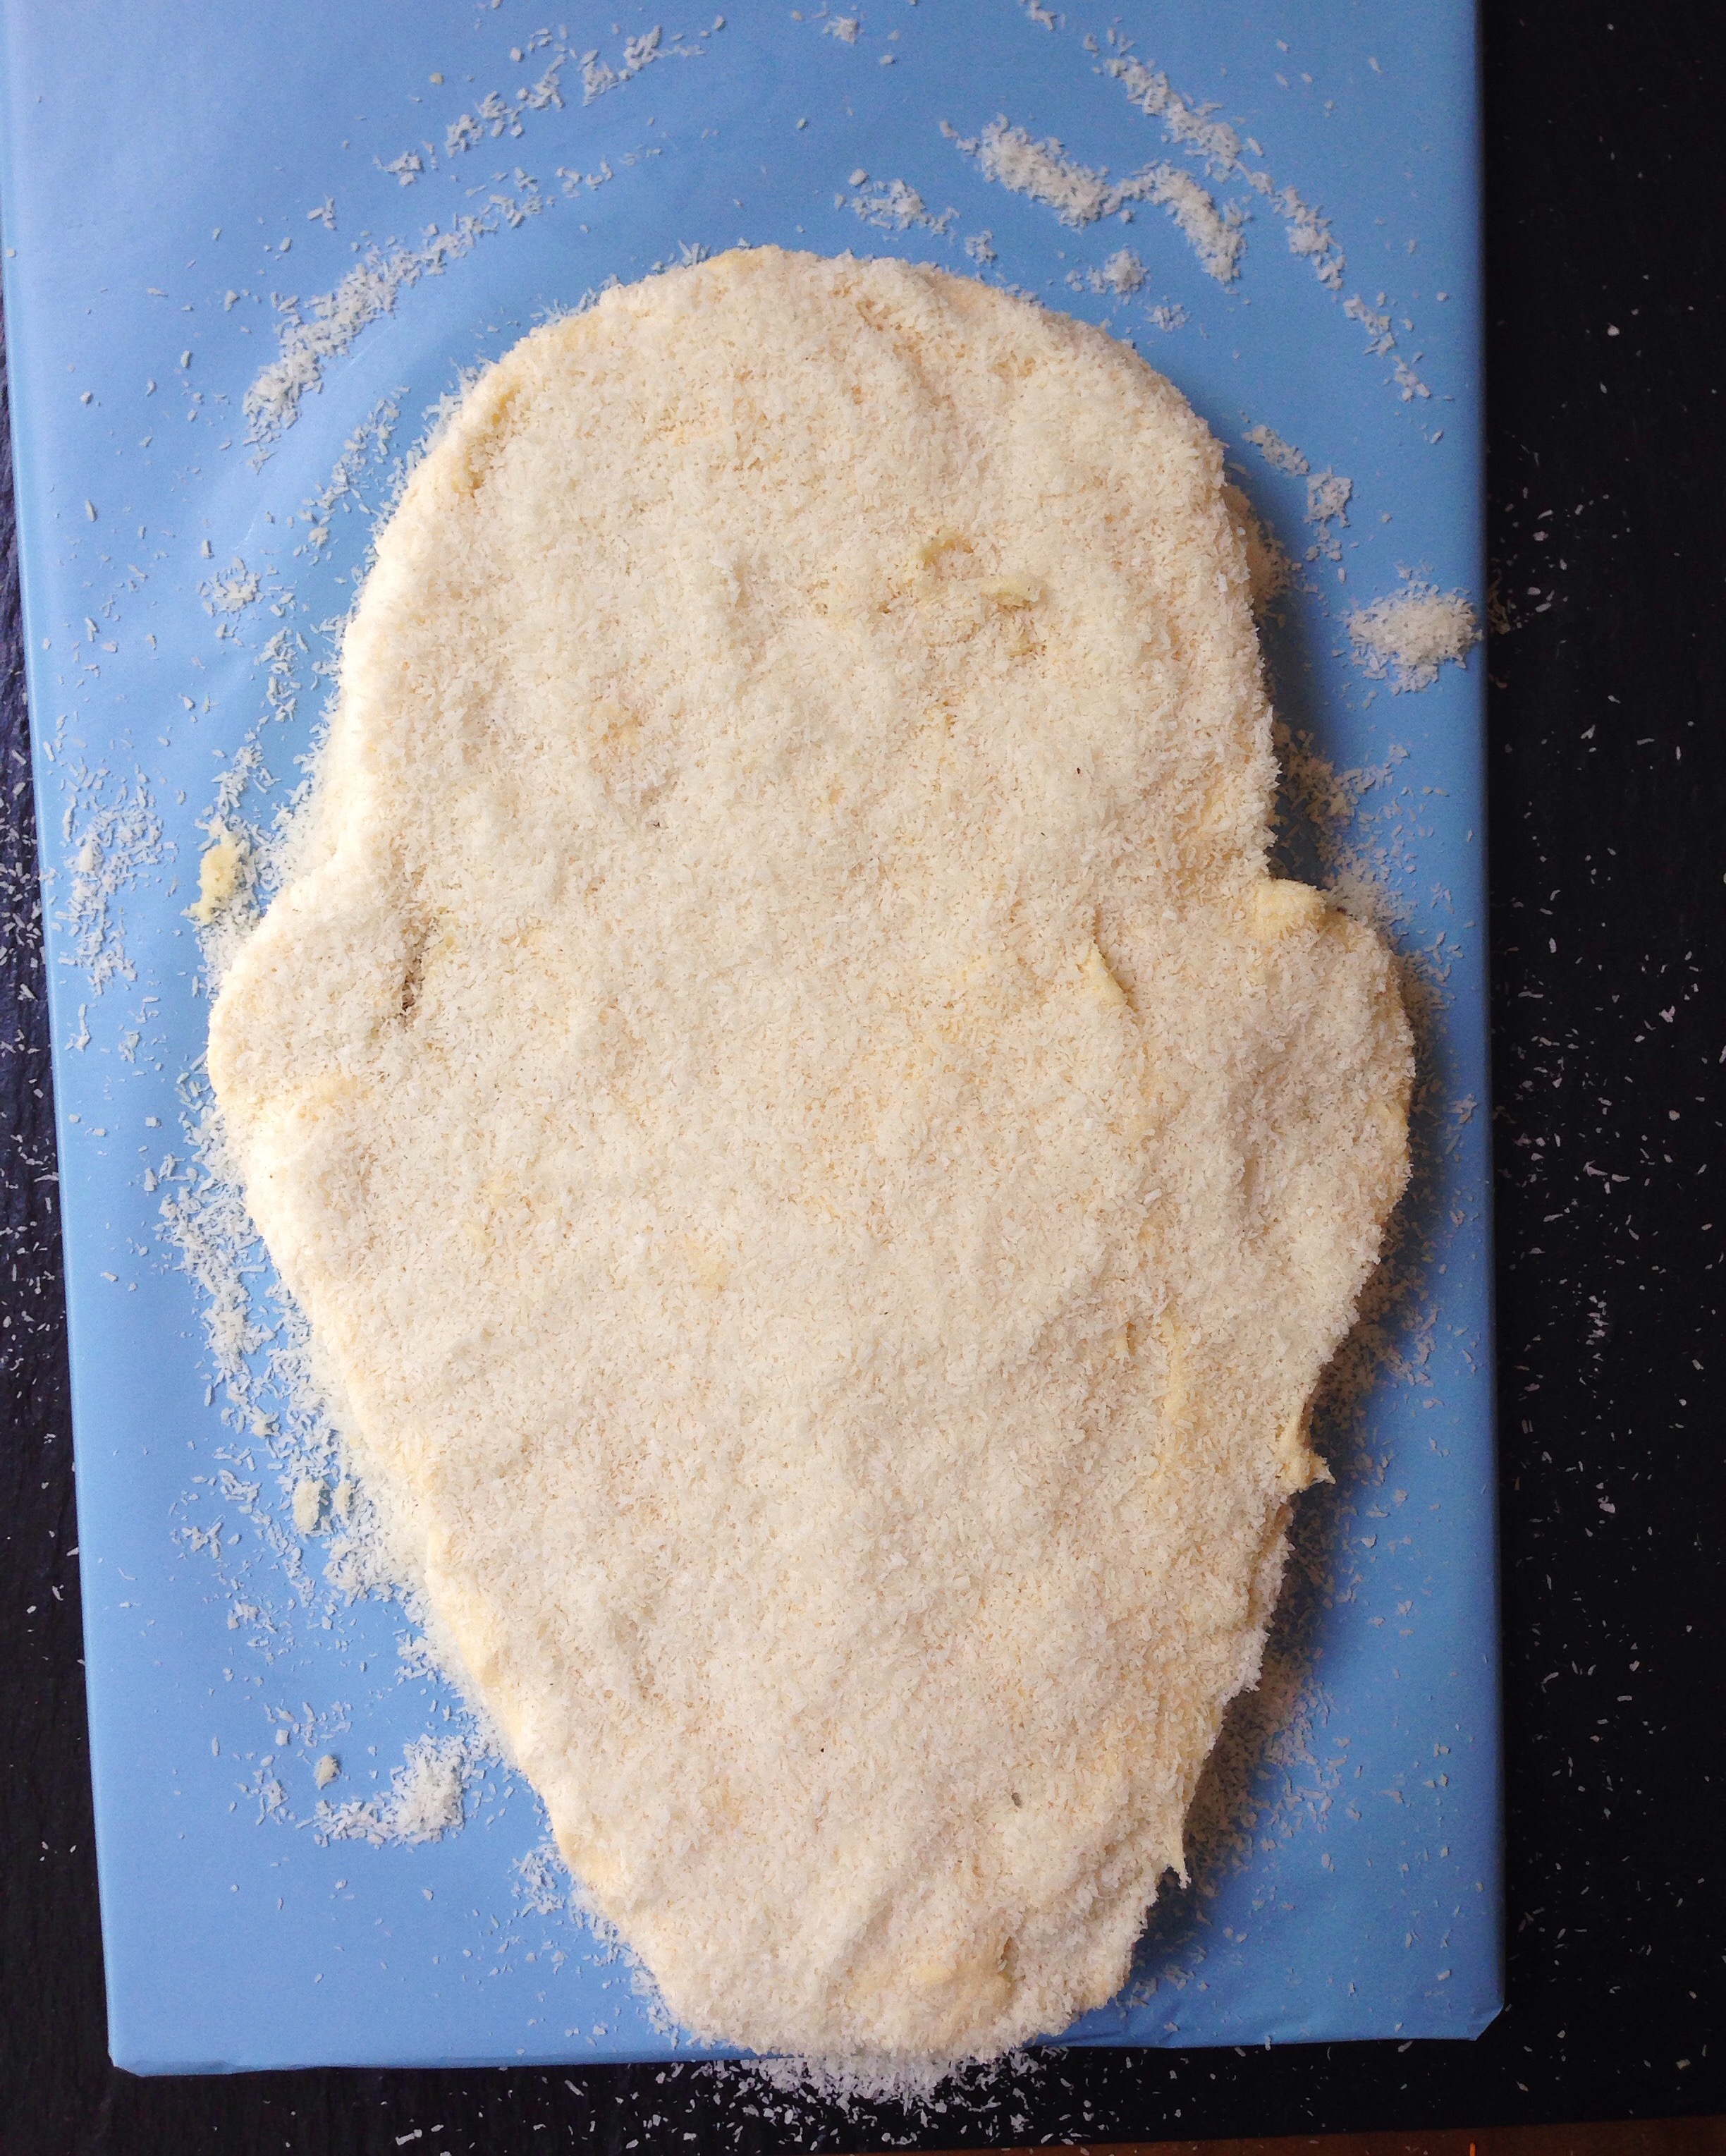
I traced the outline onto a piece of translucent greaseproof paper which was the same size as the cake tin. Then I cut out the shape, and used this as a guide to cut the cake into the shape of Olaf’s head.
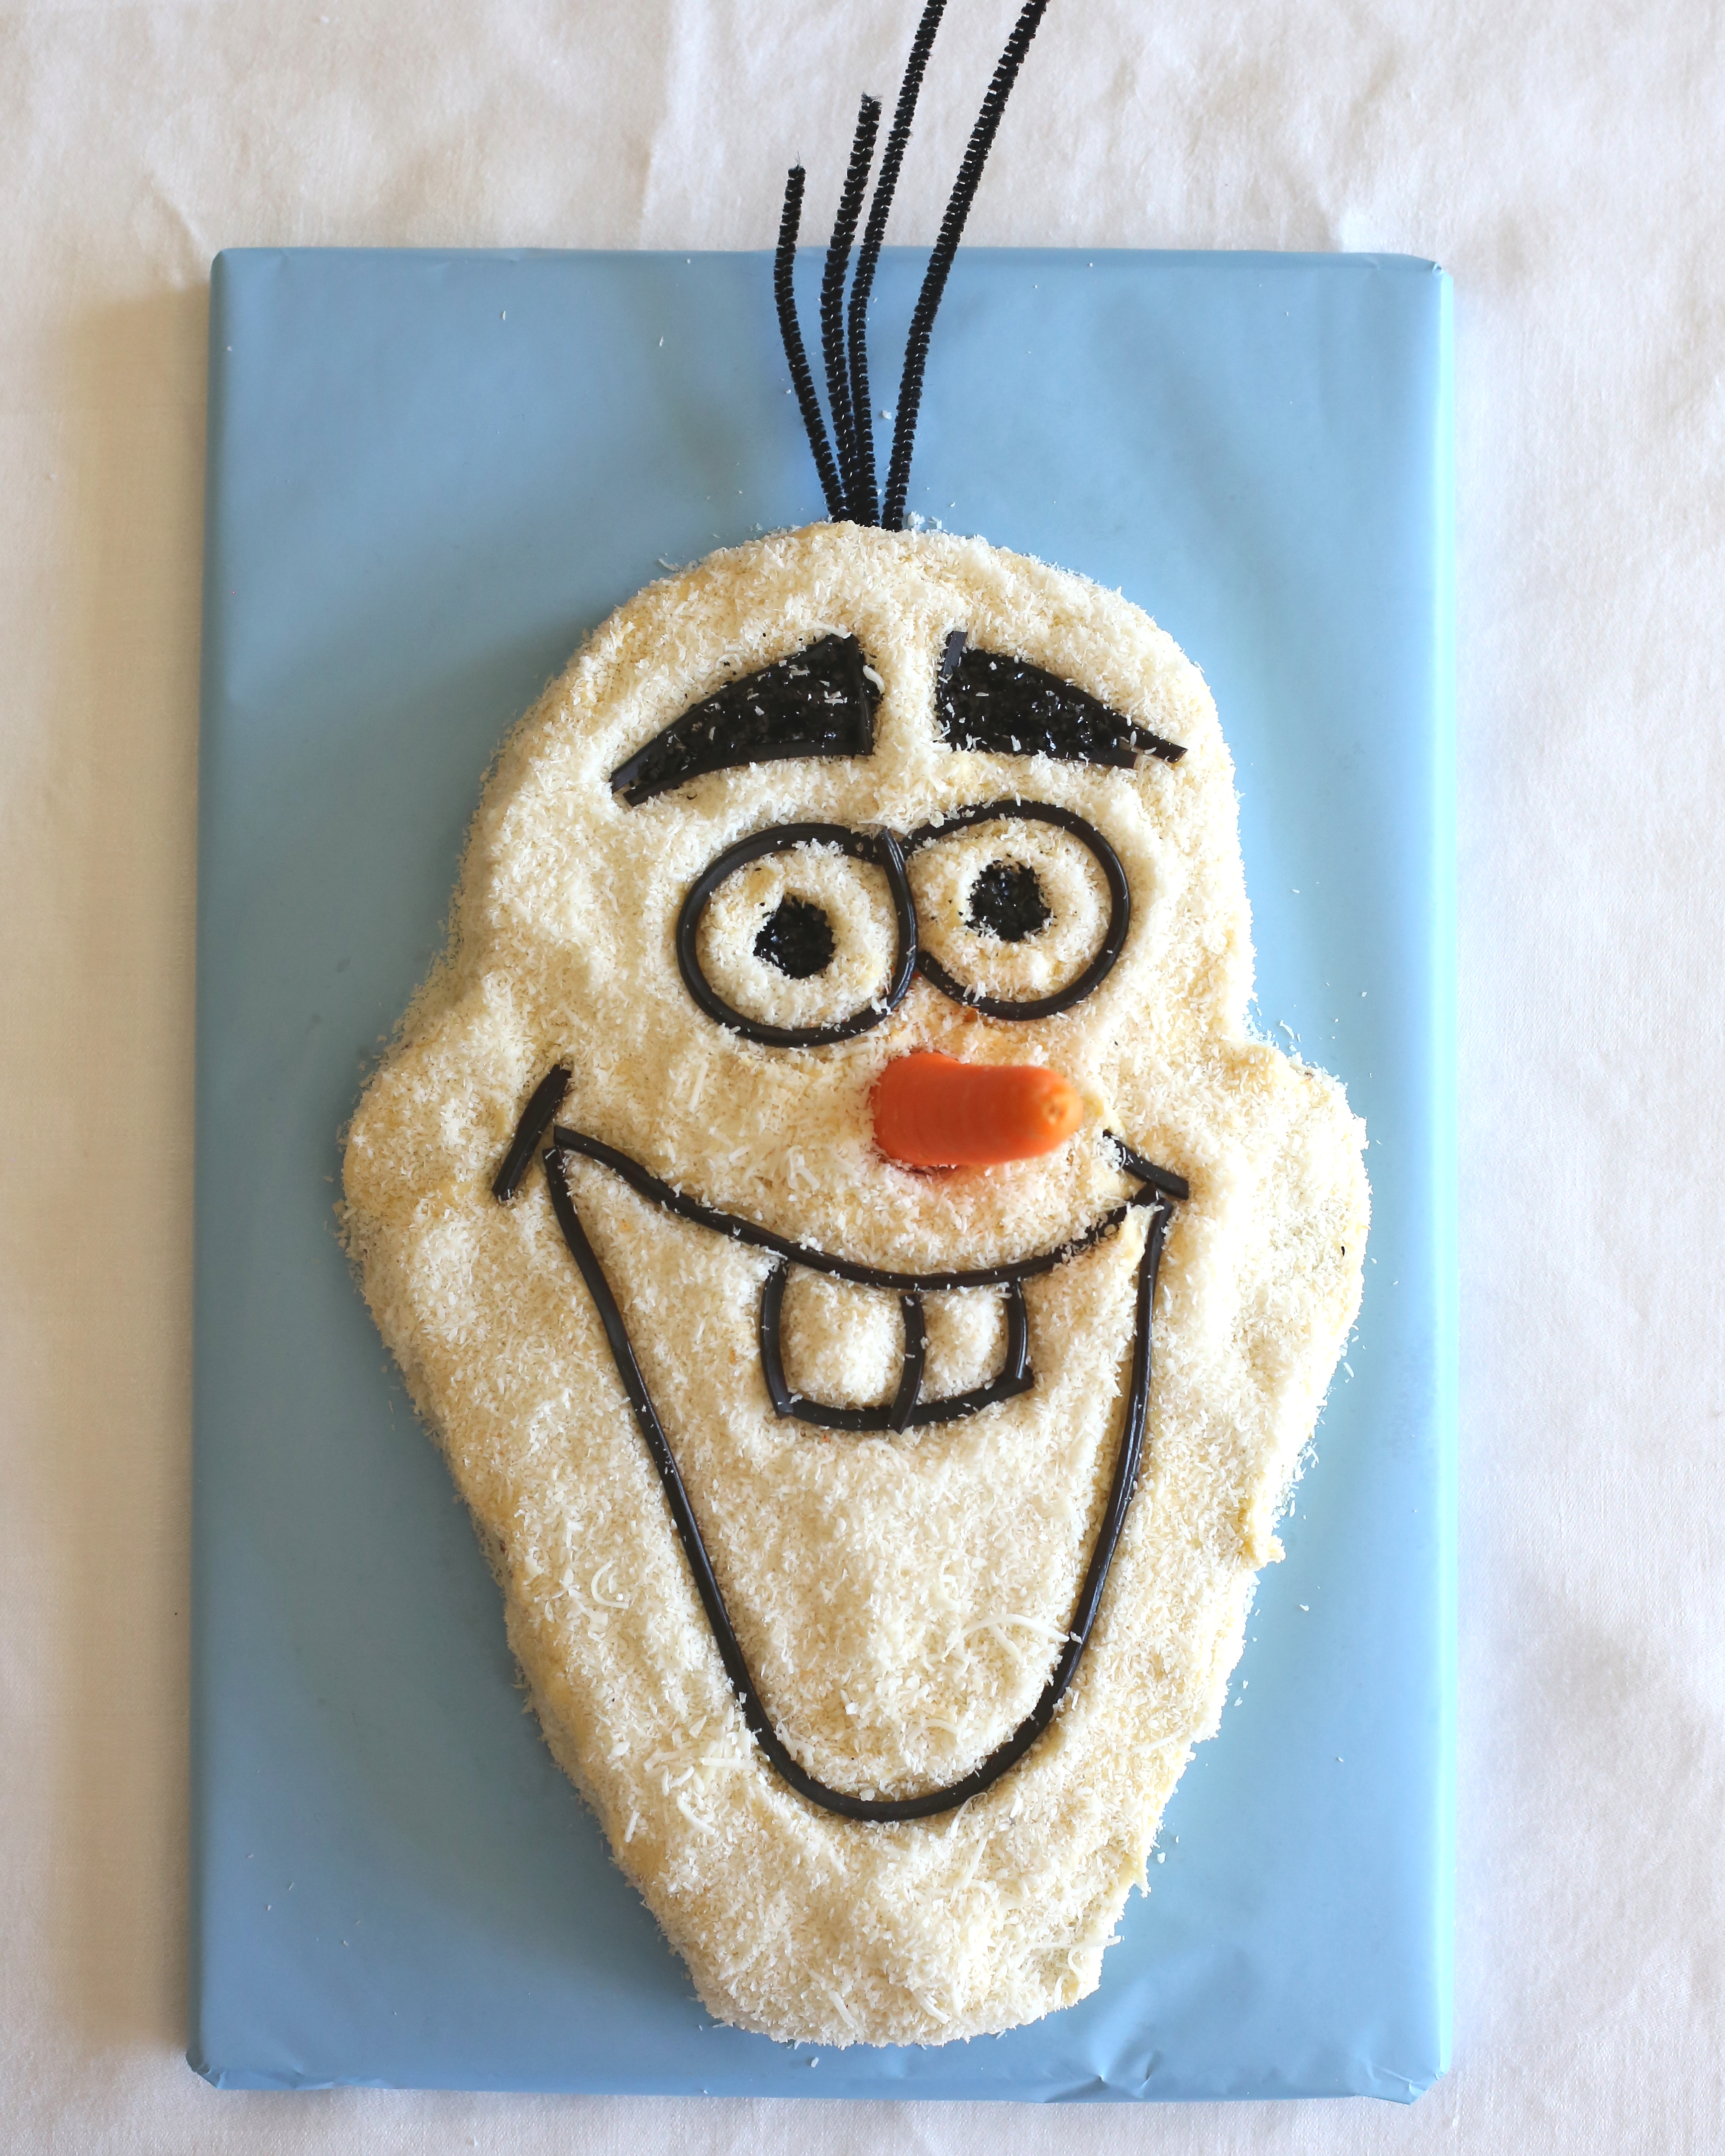
I covered the cake generously with the buttercream and followed with the coconut. Then I scored out the design, added liquorice, sprinkles, chenille sticks and finally the nose.


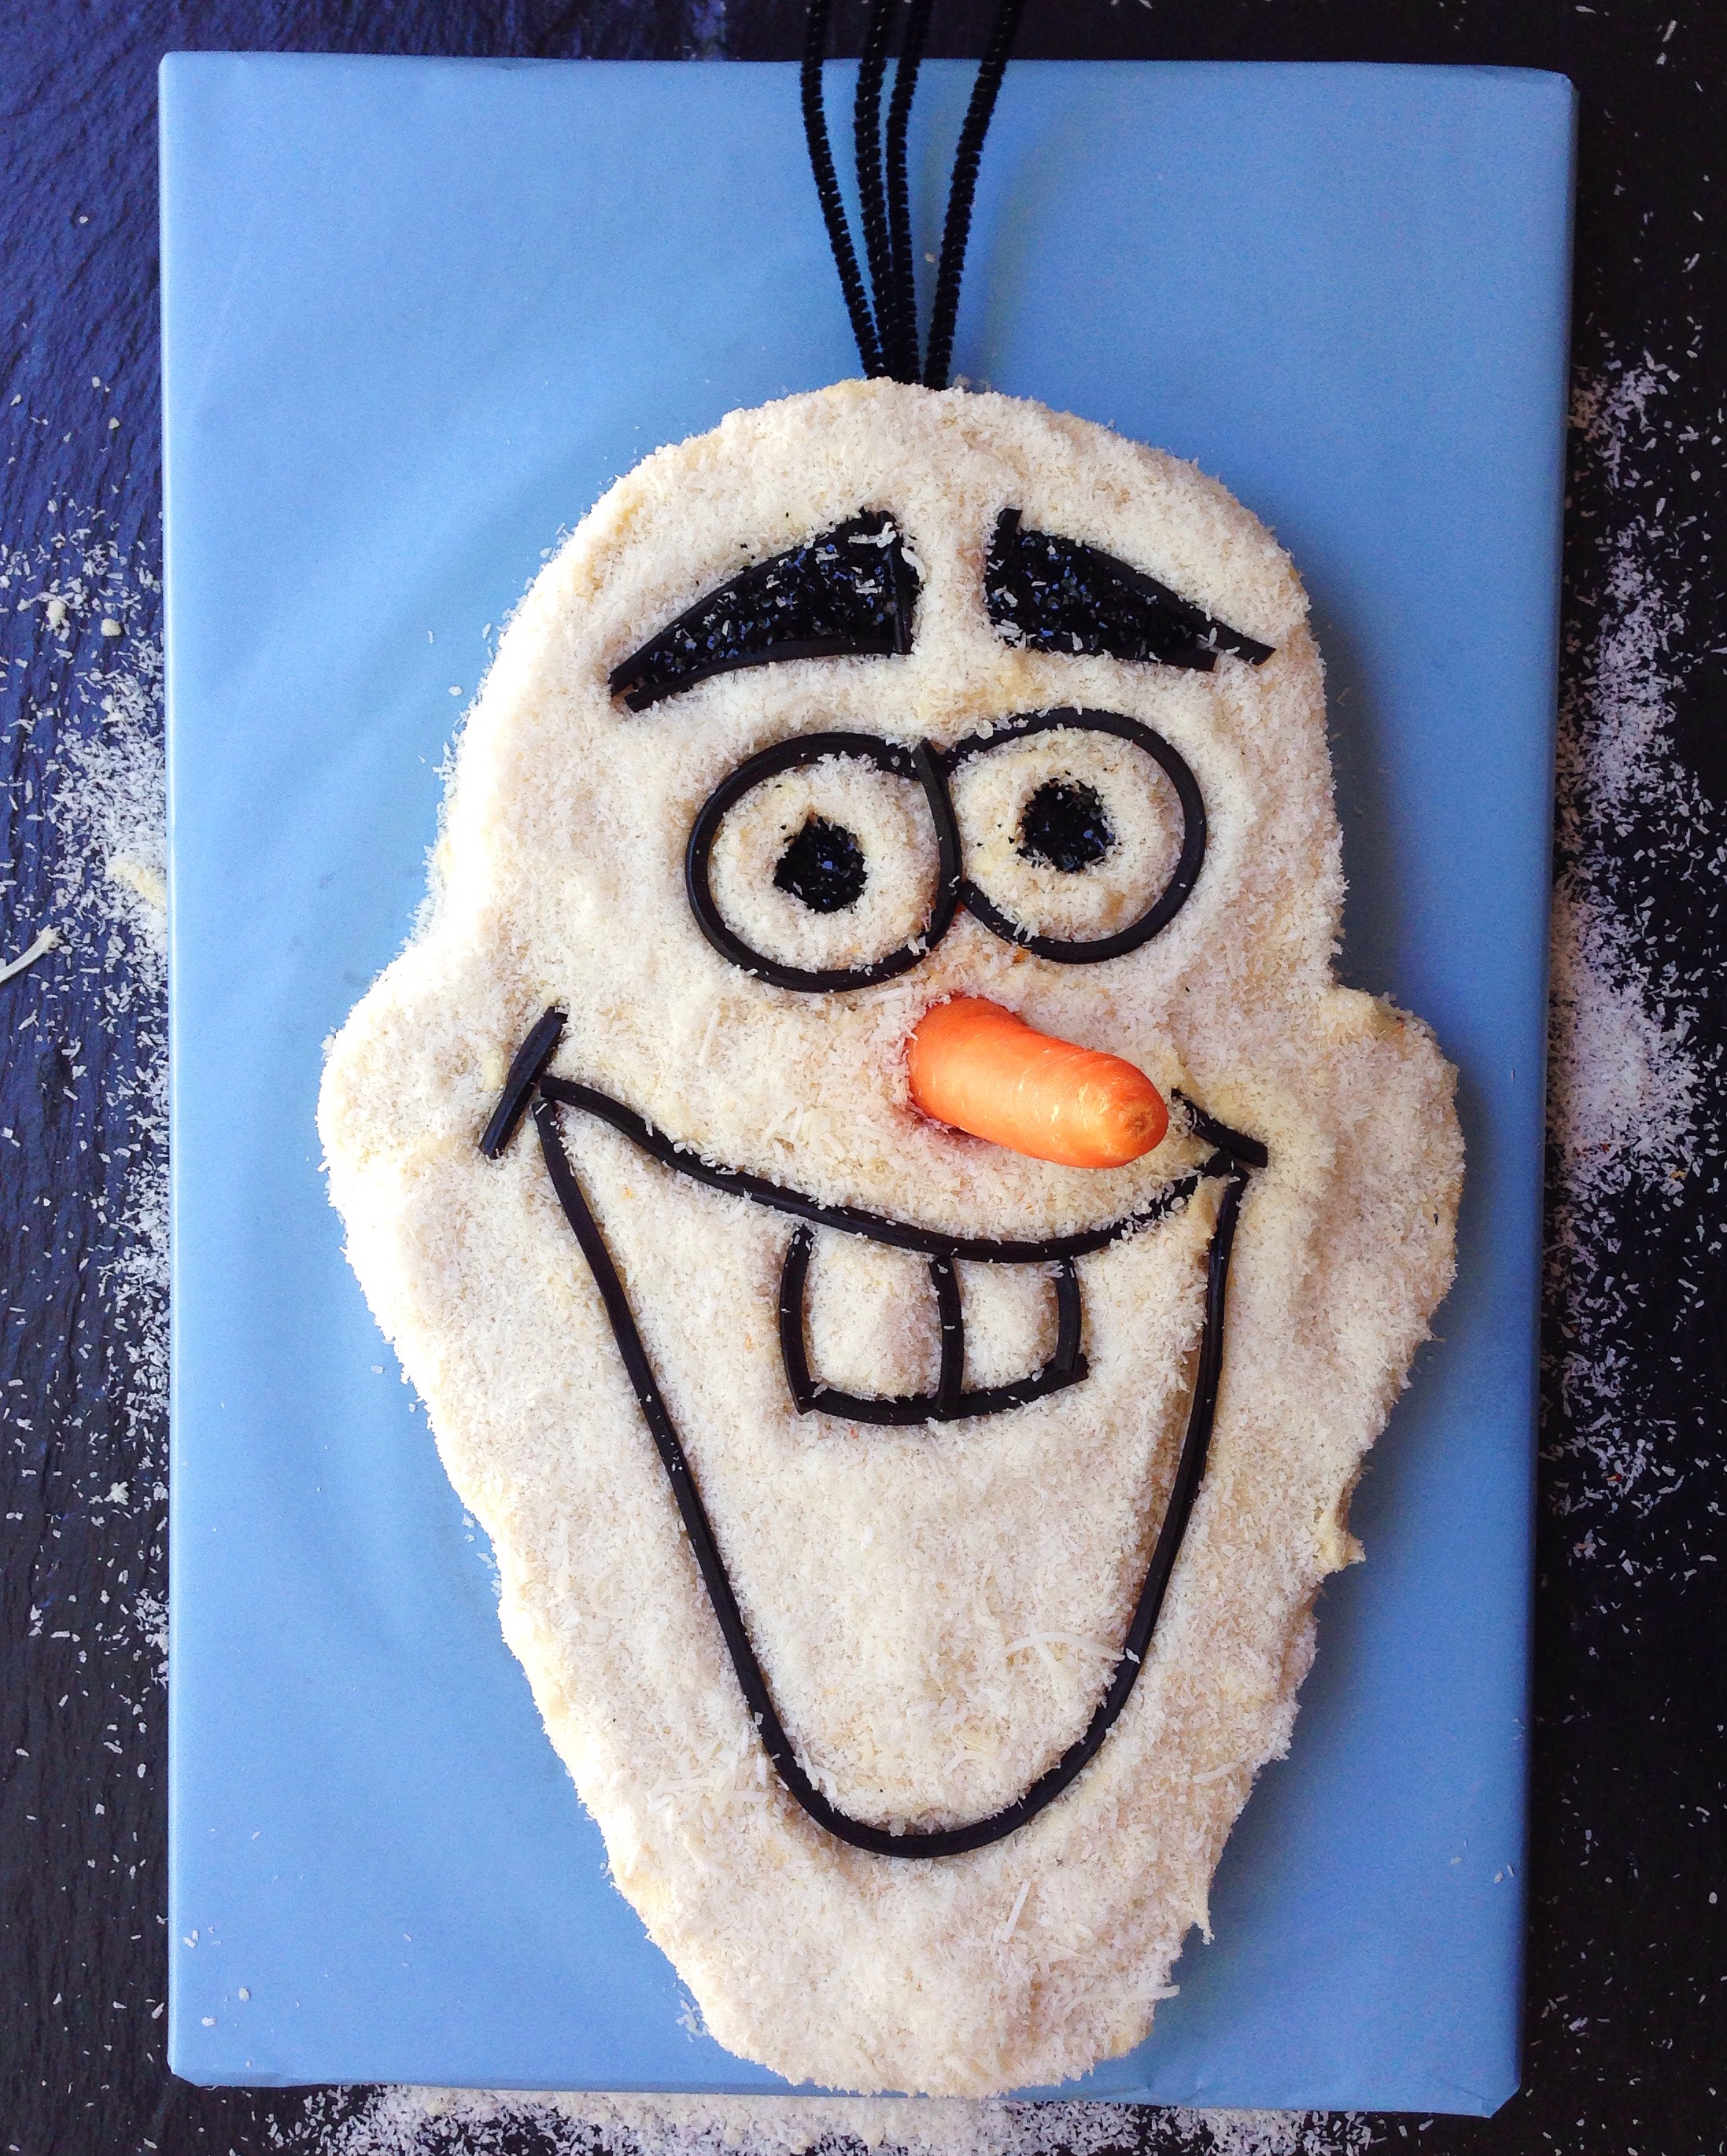
To Serve
Place some Olaf plates or serviettes around the cake and announce to the guests – in particular the grown up ones – that it is an Olaf cake. That way no one has to guess!


That is so cute! I’ve made many snowmen (and women) in my time as a kid but I’ve never made a snowman cake. This is so cute!