
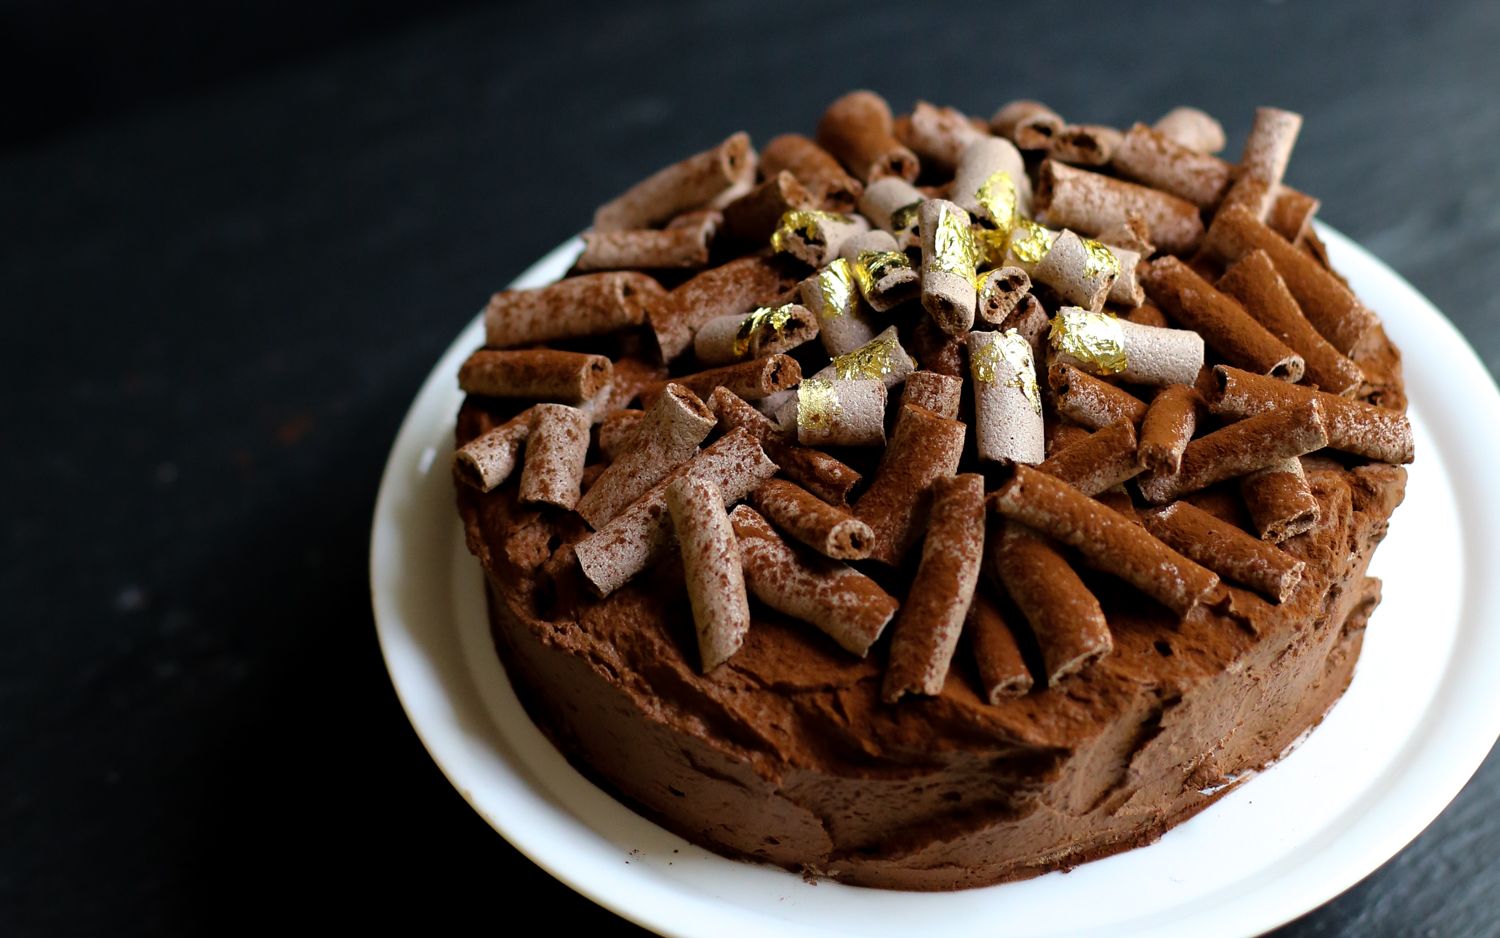
A Concorde Cake is a combination of two simple elements – meringue and mousse – which together create a delightfully decadent dessert. It is rich, sweet, soft, and crisp. This is my new favourite cake!
It was created by Gaston Lenotre, a Parisian pastry chef, in 1969 to honour the Concorde plane which, upon its launch, was considered a marvel in both engineering and luxury travel. Since the Concorde plane was retired in 2003 this dessert is at risk of becoming a forgotten relic.
While the Concorde Cake is attributed to Lenotre I wasn’t able to find his original recipe online (although I understand it is featured in his book Lenotre’s Desserts & Pastries). I created my own version by adapting meringue and mousse recipes I have used before.
I also added some gold leaf as garnish to add a touch of luxury befitting such a cake. At a cost of $5.50 a sheet of gold leaf is an affordable luxury and adds a lot of “wow” factor. It wasn’t difficult or time consuming to add the gold leaf but certainly does require a light hand and some patience. Some may not have the temperament for this. The original Concorde Cake isn’t served with gold leaf so this may be omitted without any concern.
This cake looks and tastes like it is difficult to make but it is surprising easy. It will certainly impress at your next dinner party!

Concorde Cake
Chocolate Meringue (three discs and pieces) – recipe below
Chocolate Mousse – recipe below
1 small sheet of gold leaf (optional) I bought a single sheet of gold leaf from Executive Chef
Cocoa powder (about 1 tbsp)
Chocolate Meringue
This recipe is for an egg-free meringue based on chickpea water (aquafaba). You may substitute the chickpea water with 4 egg whites if you prefer.
1/4 cup cocoa
1/2 cup icing (powdered) sugar
1 x 400g (14oz) can chickpeas (or 4 egg whites)
1 cup granulated white sugar
1/4 tsp cream of tartar
Preheat the oven to 120C (250F). Line three baking trays with baking paper. Trace three 20cm (8 inch) circles on to the paper (I used the base of a loose-bottom flan dish as a template).
Sift together the cocoa and icing (powdered) sugar; set aside.
Drain and reserve the liquid from the can of chickpeas (the chickpeas may be used for another dish). Place the liquid in a large bowl and, using either a standing mixer or handheld electric whisk, whisk at high speed. Within a minute or so the liquid will start to foam and then become thick and form stiff peaks. Slowly add the sugar and cream of tartar while continuing to whisk. Whisk until the sugar has completely dissolved.
Add the cocoa/sugar mix and gently fold through.
Pipe the meringue onto baking trays. You will need three 20cm (8 inch) discs of meringue. Make long strips with the rest of the meringue; as many as you can fit on the tray.

Bake for 50 minutes. Switch off the oven and leave the meringues in the oven until completely cool (about 1.5 hours).
The meringue may be made ahead of time and stored in an air-tight container or, if it is especially humid, in the fridge.
300g dark (bittersweet) chocolate (I used Callebaut 53.8% cocoa solids)
240ml (or grams) of water
This is a very quick mousse so it’s imperative that everything is ready before you start. Place some ice cubes in a large bowl with a cup (or so) of water and place a smaller bowl inside of this (the mousse will be whisked in this smaller inner bowl). Have a rubber spatula and whisk ready (an electric whisk is highly recommended!)
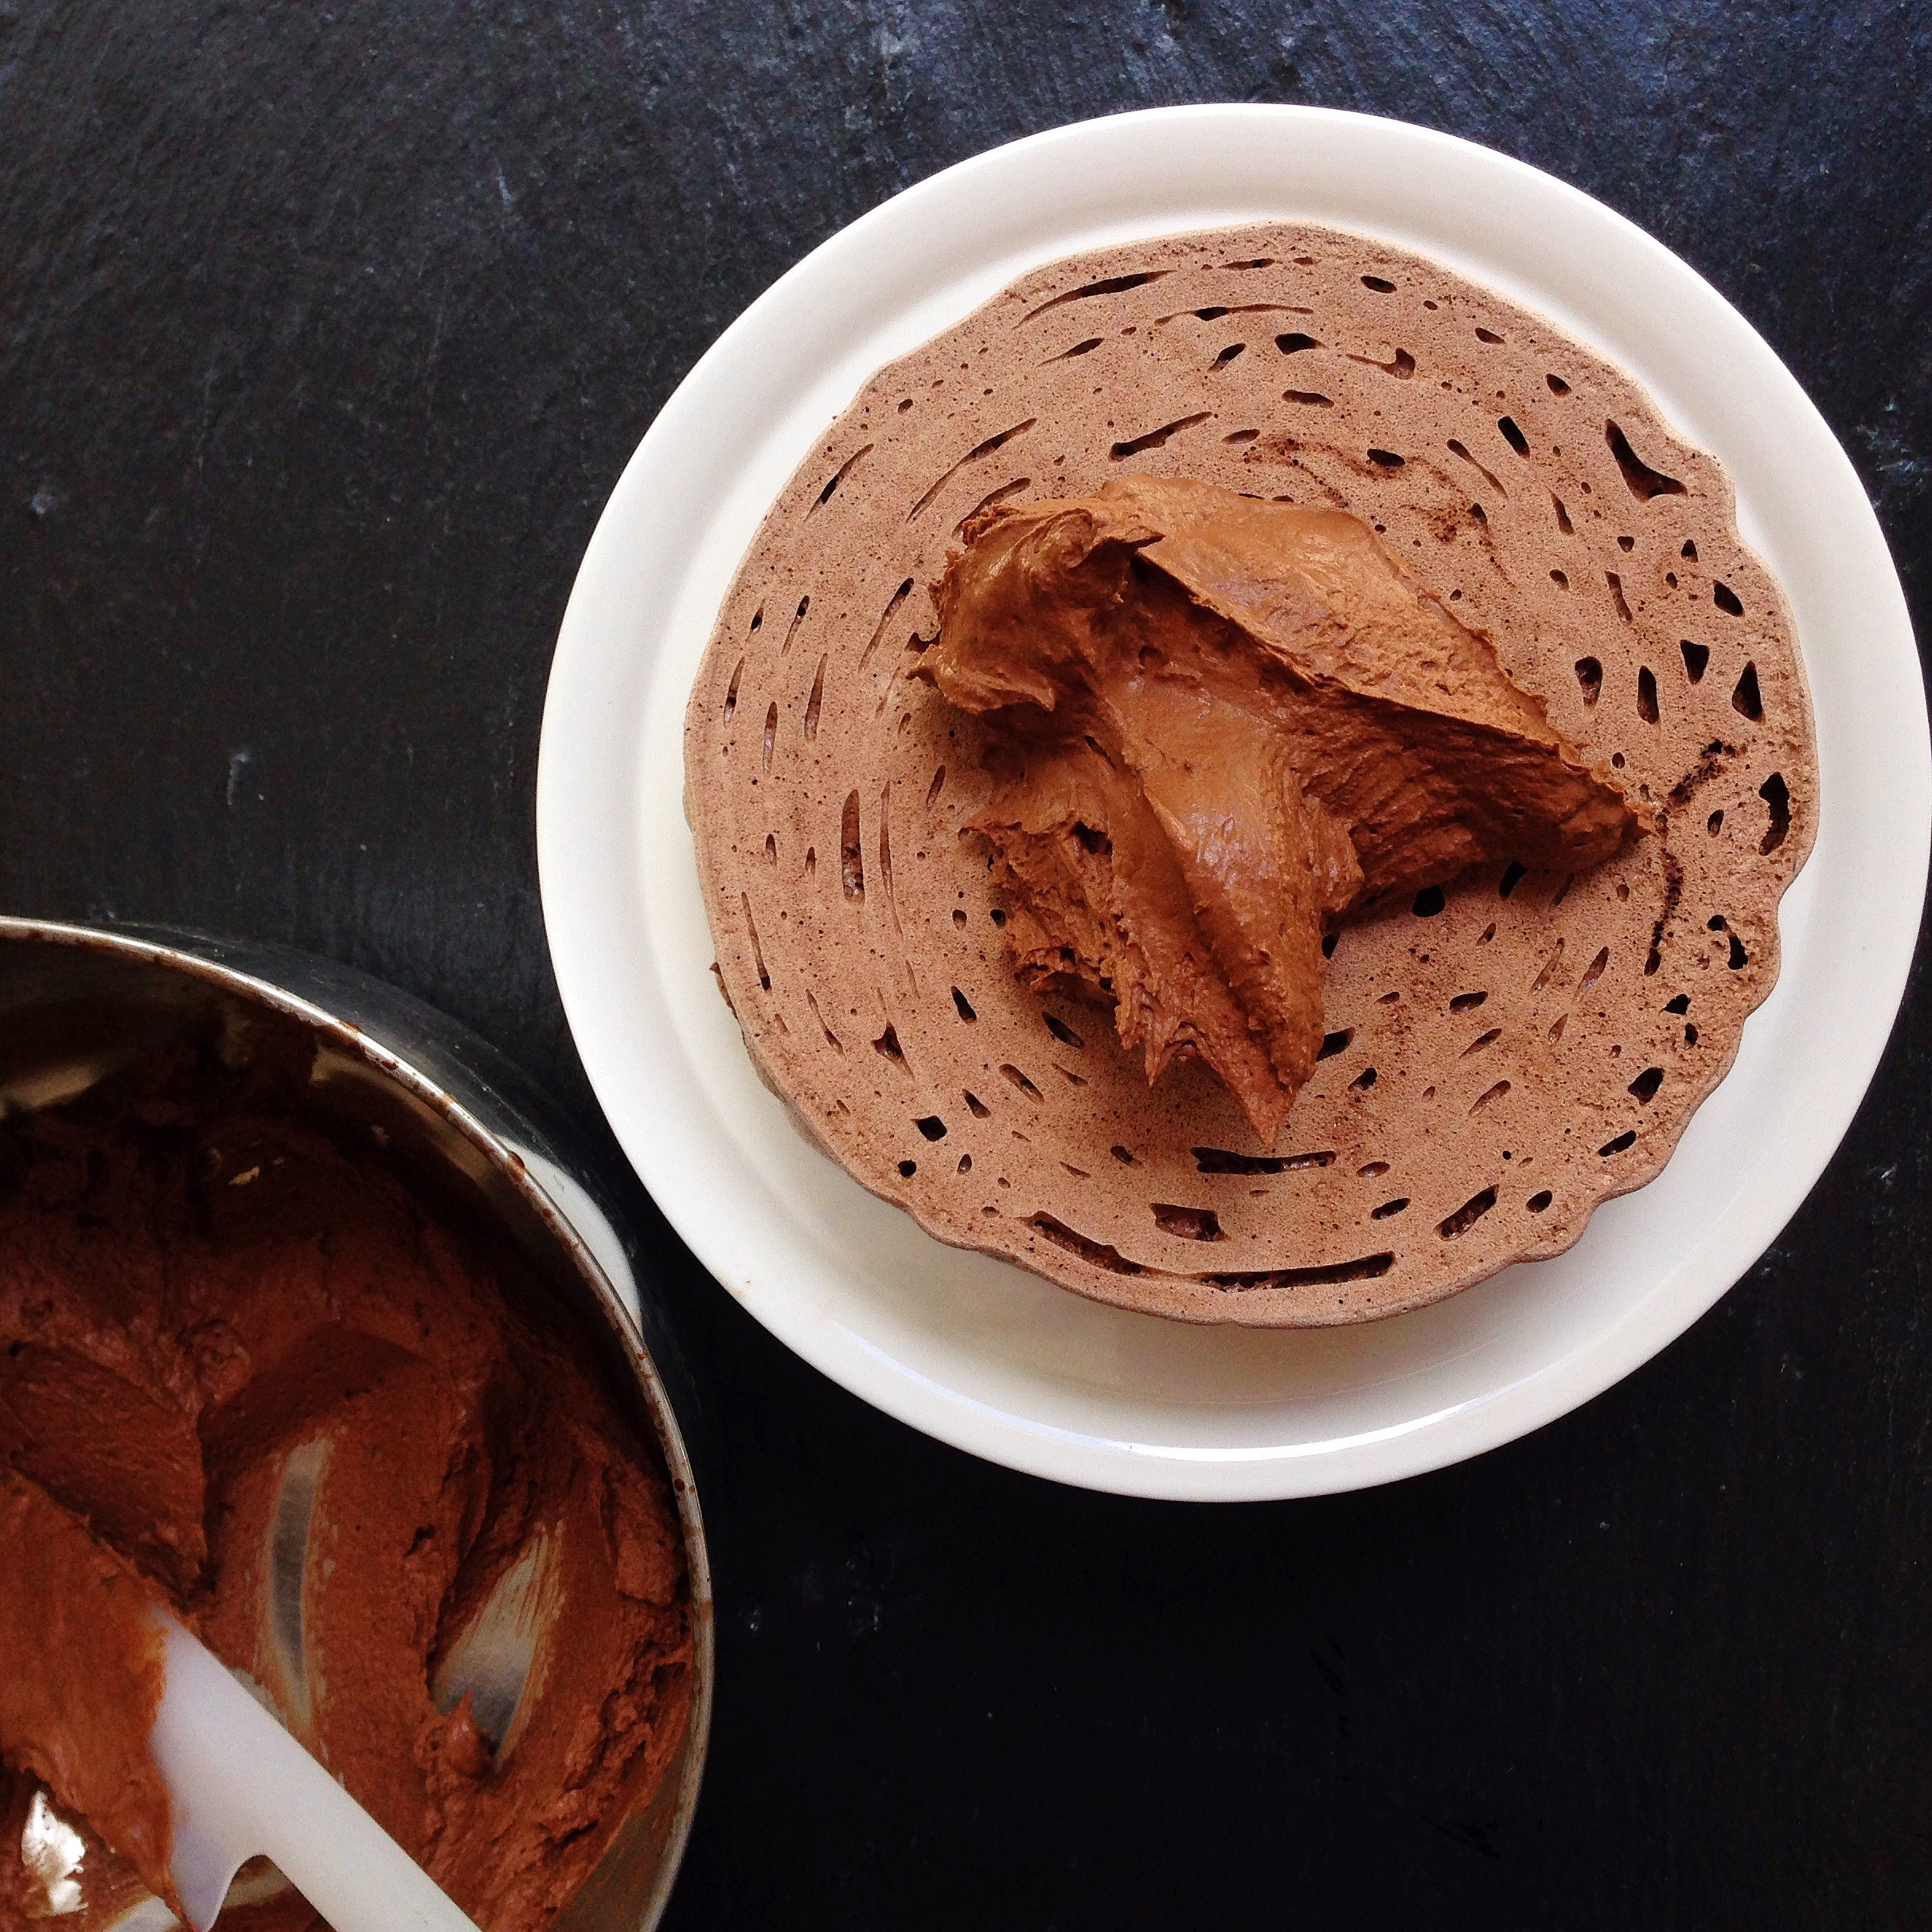
Place the chocolate and water in a saucepan and melt over a lowish heat, stirring with the spatula, until melted and smooth. Pour into the inner chilled bowl and whisk! whisk! whisk! The mousse will thicken as it cools; whisk until it forms thick soft ribbons.
The mousse may be prepared ahead of time and stored in the fridge until needed. It won’t lose any volume by being stored in the fridge but it will firm up so it’s best to remove it from the fridge for 20 minutes or so before assembling the cake.
To Assemble
Place one disk of meringue on the cake plate and cover with chocolate mousse; add the second meringue disc and cover with more mousse. Place the third disk – upside down with the flat bottom up – on top. Cover the top and sides with the remaining mousse.


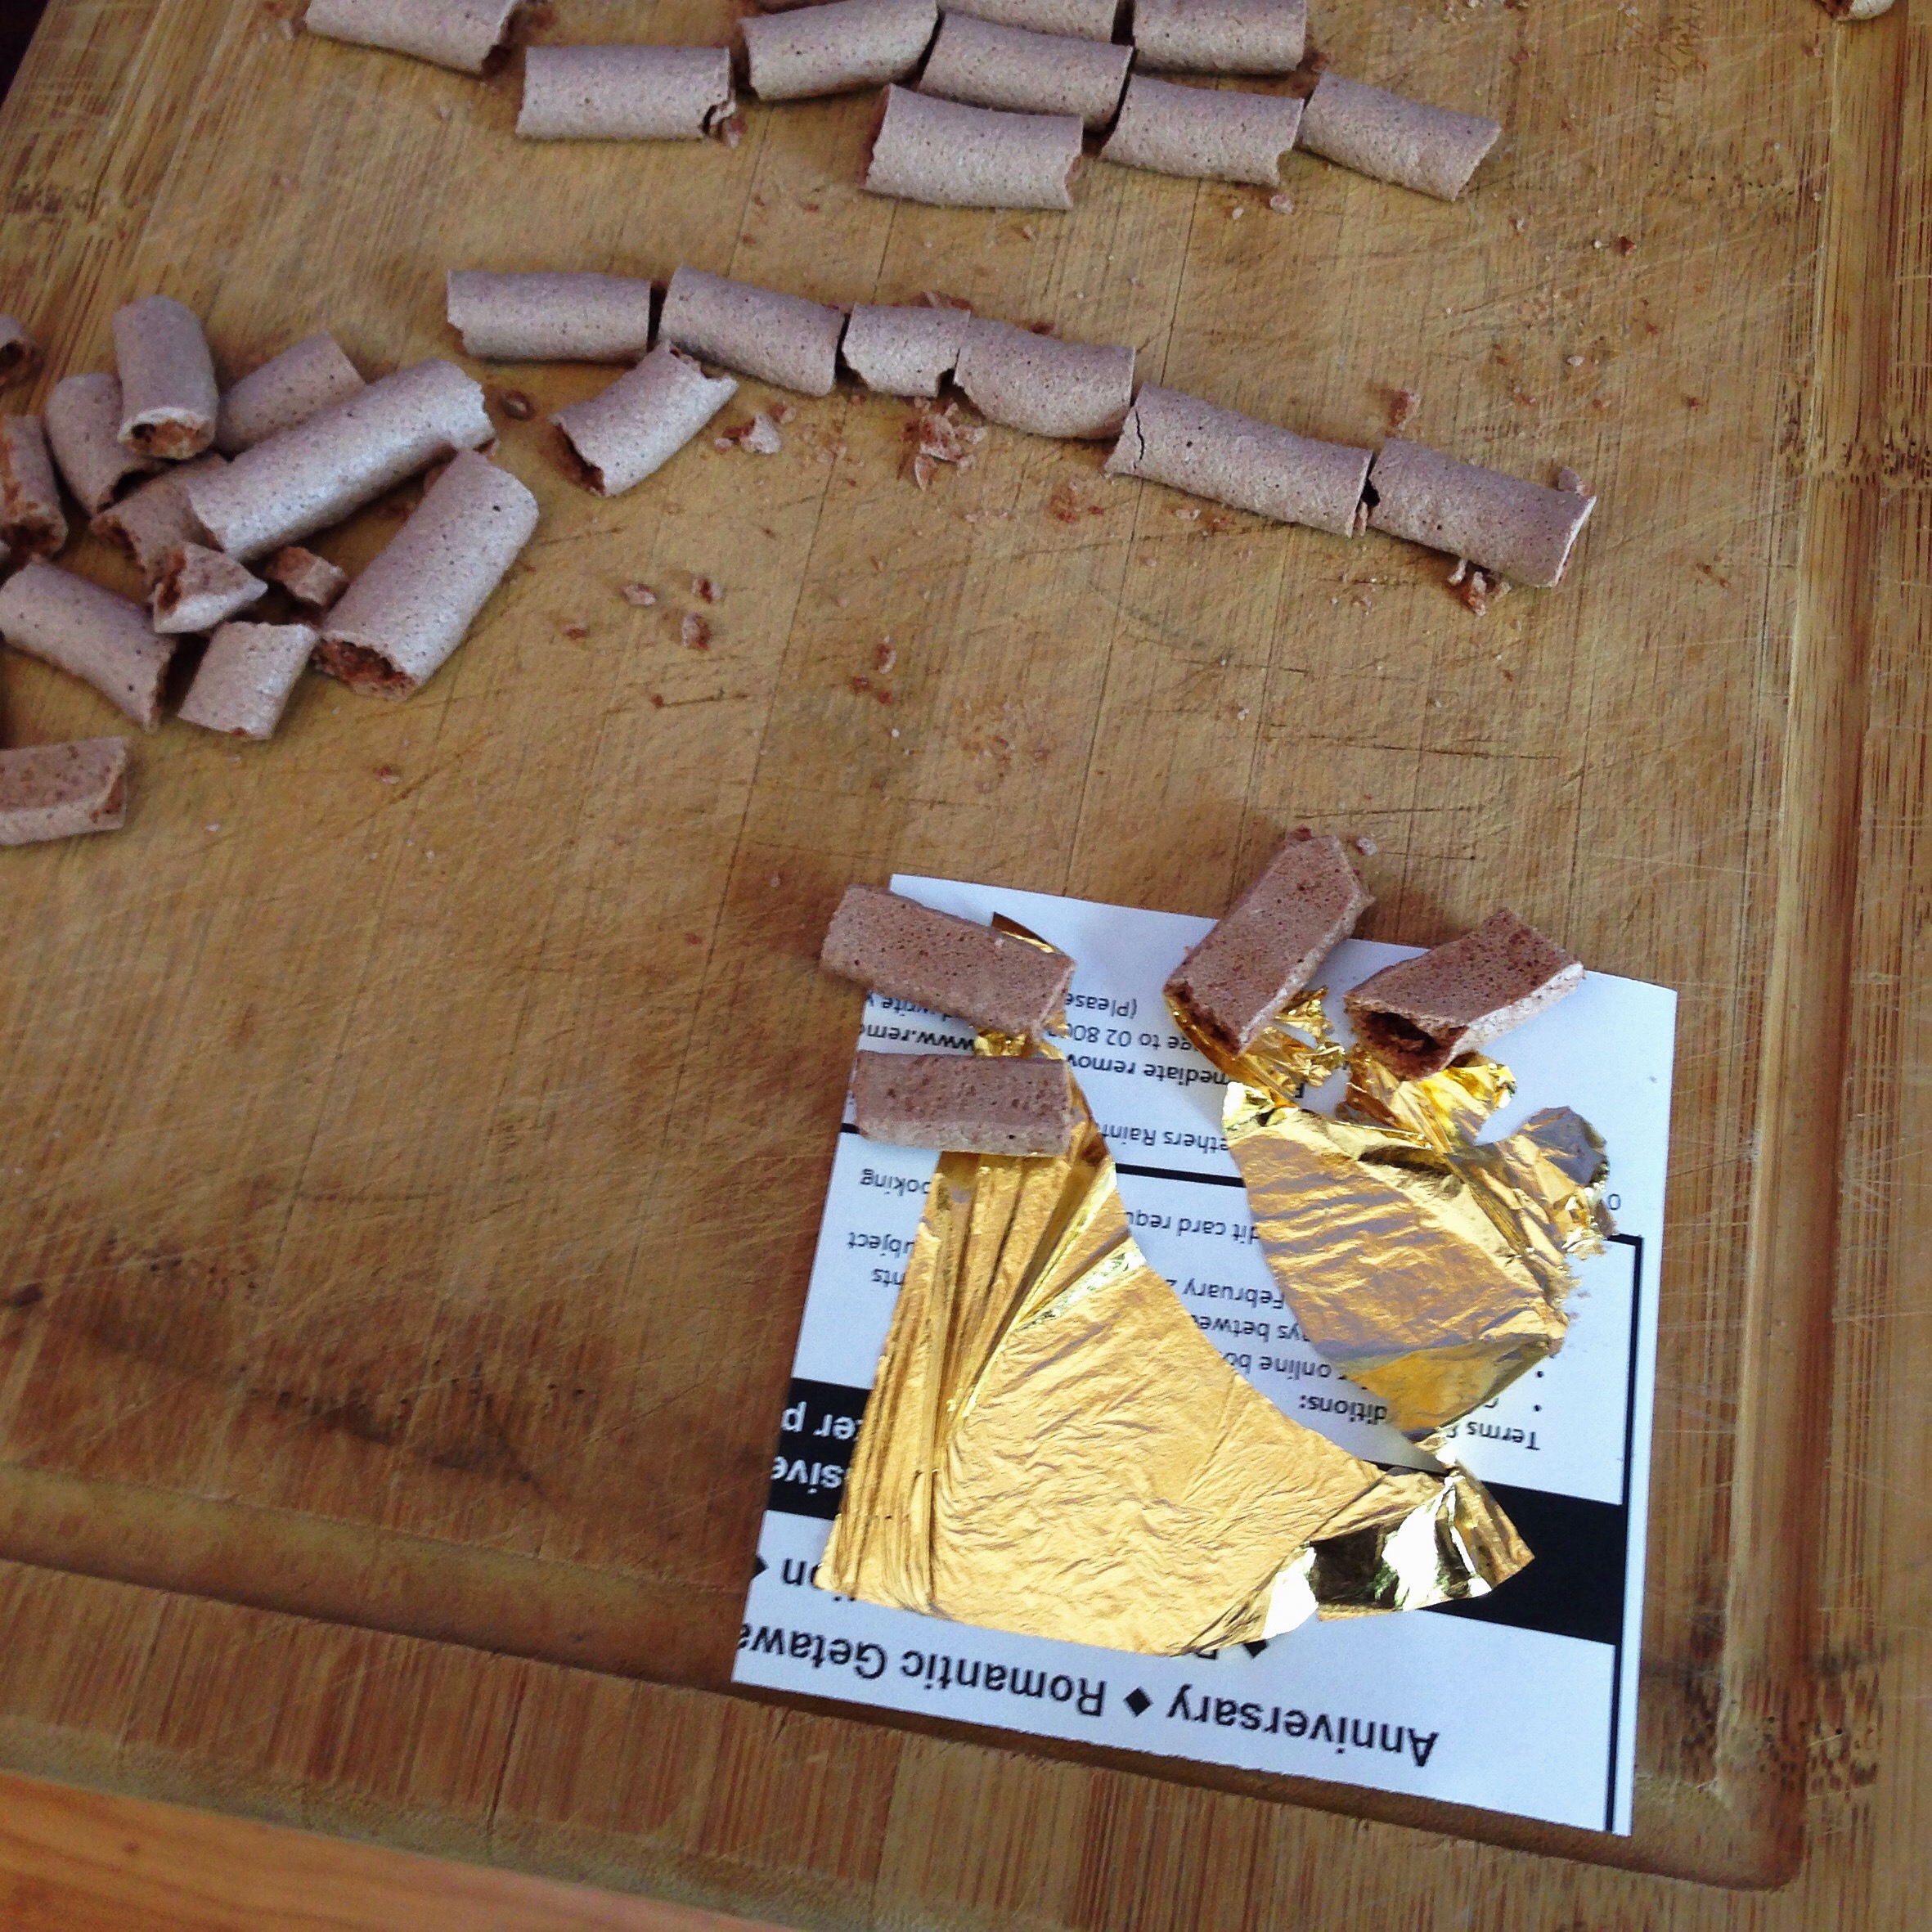
Carefully cut the meringue strips into 3.5cm (1.5 inch) pieces. Select the best looking pieces to decorate with gold leaf. To do this, carefully remove the top paper from the gold leaf. Then gently press a meringue piece onto the edge until the gold sticks to it. If you need to nudge the gold leaf into place use another piece of meringue. Don’t touch the gold leaf with your fingers; it will stick!

Place the plain pieces of meringue on top of the cake. Dust with the cocoa powder. Place the gold-decorated meringue pieces on top. Serve.


The cake stores very well in the fridge. Although the meringue will soften after assembled it is in a way that it very enjoyable. If you want to enjoy the cake with crunchy meringue then assemble just prior to serving.
Beware of cling film when storing the cake as the gold leaf sticks firmly to it. I learnt this the hard way.

Ooooh, pretty… I love this recipe for chocolate mousse, I make it when I have a chocolate craving and nothing else in the house. But the meringue pieces are a brilliant addition!
Yum. This sounds marvellous. I love the whole chickpea water thing in meringues. It’s all over the blogosphere lately isn’t it? So clever.
Chick pea meringue- interesting!
I tried making this several times, because it looks great! I whisk the aquafaba until it was really stable, but whenever I add the cocoa/sugar mix and gently fold it through – the mix becomes runny (more like chocolate milk with large bubbles) so it can not be backed. Do you have any ideas for me? What am I doing wrong? Thank you very much!
Hi Terri! Thanks so much for trying this recipe. I’m not sure why this hasn’t worked for you.
You could try whipping the aquafaba for longer.
The granulated sugar and cream of tartar are added to the whipped aquafaba before the sugar/cocoa mix. This should stabilise the meringue. Did you add the ingredients in the correct order (maybe my instructions weren’t clear enough!)?
Thanks again for visiting and commenting!!
Thank you so much for your reply! Your instructions were great and very clear. I followed them and did ass the ingredients in the correct order. The second time I tried I also whipped the aquafaba for 15 minuts before adding the sugar and cream of tartar, and then for about 5 minuts after. It was very stable before I added in the sugar/cocoa mix.
The one thing I can think of is maybe the aquafaba-cocoa ratio was not right, since I live in another country, and maybe the brands we have here use less aquafaba when the total whight of the can is 400g (more chickpeas, less aquafaba). I suspect this could be the problem since I just noticed the runny mix I got was darker than the stable mix in your pictures. Do you happen to know how much aquafaba is needed to make this recipe (how many mililiters are in a 400g can of chickpeas that you use)?
Thank you so much again!
This recipe requires four egg whites, or equivalent of aquafaba, and this weighs approx 160g. Does this help?
If you need a volume measurement my best guesstimate would be 10 tablespoons plus two teaspoons of aquafaba. Which I think is 1/2 cup plus 2 tblsp plus 2 tsp! (I’m trying my best here but I’ve had a few beers!)