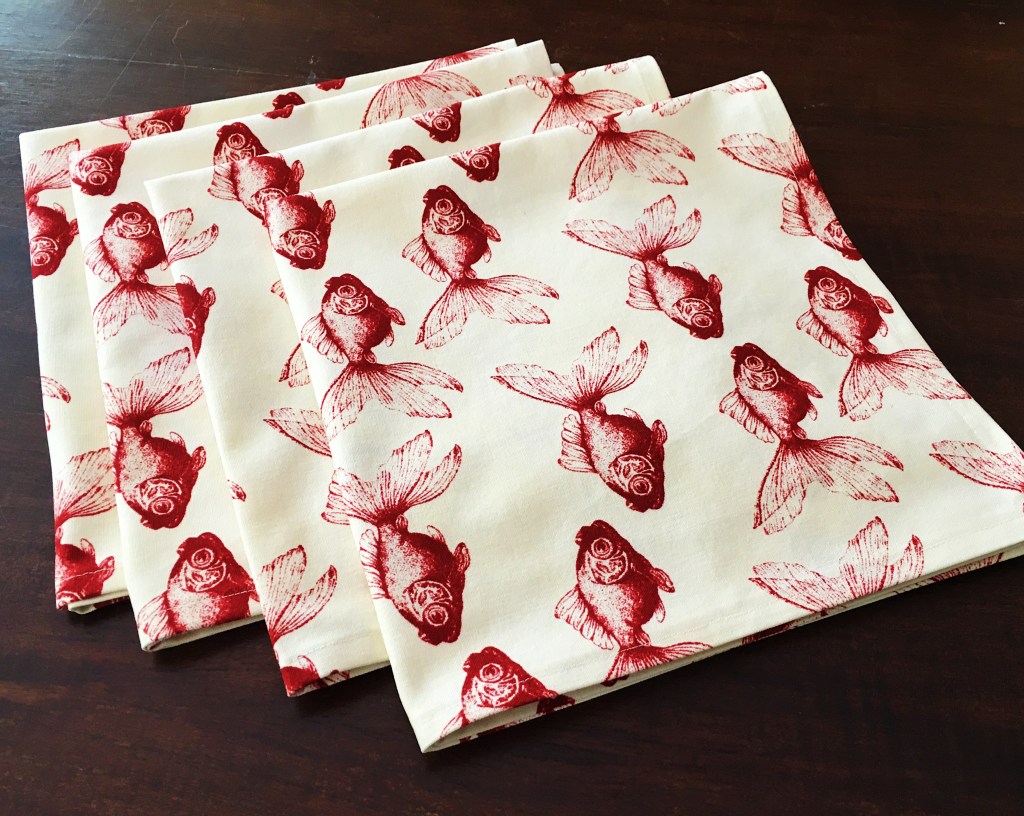
Handmade cloth table napkins are a delight to use and are a wonderful way to add some unique whimsy to your home decor. They are super easy to make and are an ideal project for the beginner sewer. They would be a lovely heartfelt gift for someone special.
I made a set of four recently and I am sharing with you the step-by-step process.

It has been very quiet in this space since my dishwasher stopped working. Nothing takes the joy out of cooking more than a broken dishwasher. The oven and most of the stovetop also don’t work! The excellent news though is that I will be getting a brand new kitchen!! I will share some photos on Instagram when the installation happens (probably a few months from now).
Handmade Table Napkins
makes four
Equipment
Sewing machine – this project does require a sewing machine, however it requires a lot more ironing than sewing.
Pins
Scissors
Iron/ironing board
Materials
Fabric – I used a 110cm length of 110cm wide cotton fabric. Wash and iron the fabric first.
Thread to match
Step 1
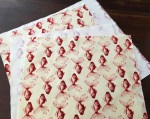
Wash and iron the fabric before you start. Any soft natural fibre fabric would be suitable. I used a 110cm (43 inch) length of 110cm wide fabric to make four napkins.
Step 2
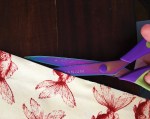
Fold the fabric in half, matching the selvedge edges. Check if the cut sides of the fabric are straight. It may be necessary to trim the cut edges if they are crooked.
Fold the fabric in half again so that it makes one square. Slip the scissors between the folded edges and cut. You will have four even-sized pieces of fabric.
Step 3
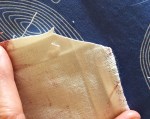
With one piece of fabric (with the right side facing down) fold the edge in 2cms (4/5 inch) all the way along; pin; iron. Repeat on all sides. Don’t worry too much about the corners at this stage; that will be revisited later.


Step 4
Gently unfold and tuck the edge under to the inside ironed fold; fold over; pin; iron. Repeat on all sides.


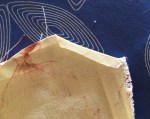
Step 5
Now the corners! Gently unfold at the corners. Trim off half the fabric, at 45 degree angle, between the inside fold and the tip. Fold this in and iron. Fold the edges back in and over. Pin and iron. This part is a little fiddly; just do your best and try to not burn your fingers on the iron!

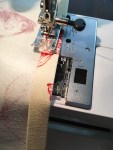
Step 6
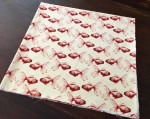
Now you are ready to sew. Start in the middle of any side. Stitch a single line all the way around, pivot turning at the corners; back-stitch a little at the start and finish.
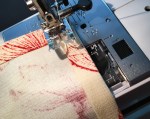
Repeat these steps with the other pieces of fabric.


A lovely project Steph